Complete Shrimp Tank Setup Guide for Beginners
Last updated: February 2026 | 12 min read
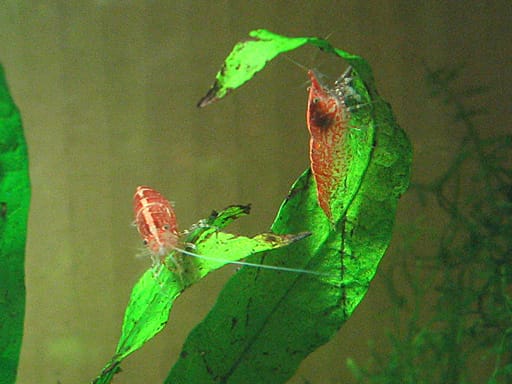
Setting up your first shrimp tank is exciting! We cover everything you need to know to create a thriving environment for freshwater shrimp like cherry shrimp, blue dreams, or crystal reds.
What You'll Need
Before diving in, here's your complete shopping list:
◆Essential Equipment
- •Tank: 10-20 gallon recommended for beginners
- •Filter: Sponge filter (baby shrimp safe)
- •Heater: Adjustable heater, 50W for 10 gallon
- •Substrate: Active substrate or inert gravel
- •Lighting: Basic LED light for plants
- •Test Kit: Liquid test kit (API Master Kit recommended)
◆Recommended Supplies
- •Dechlorinator (Seachem Prime)
- •Beneficial bacteria starter
- •Live plants (java moss, anubias)
- •Indian almond leaves
- •Shrimp food
- •Feeding dish

Step 1: Choose the Right Tank Size
While shrimp can technically live in tanks as small as 5 gallons, we strongly recommend starting with at least 10 gallons. Here's why:
- •Stable Parameters: Larger water volume = more stable water chemistry
- •Room to Grow: Shrimp colonies grow quickly when happy
- •Easier Maintenance: Small tanks require more frequent water changes
- •Plant Space: More room for beneficial live plants
Our Top Pick: A 20-gallon long tank gives you the best balance of space, stability, and viewing area.

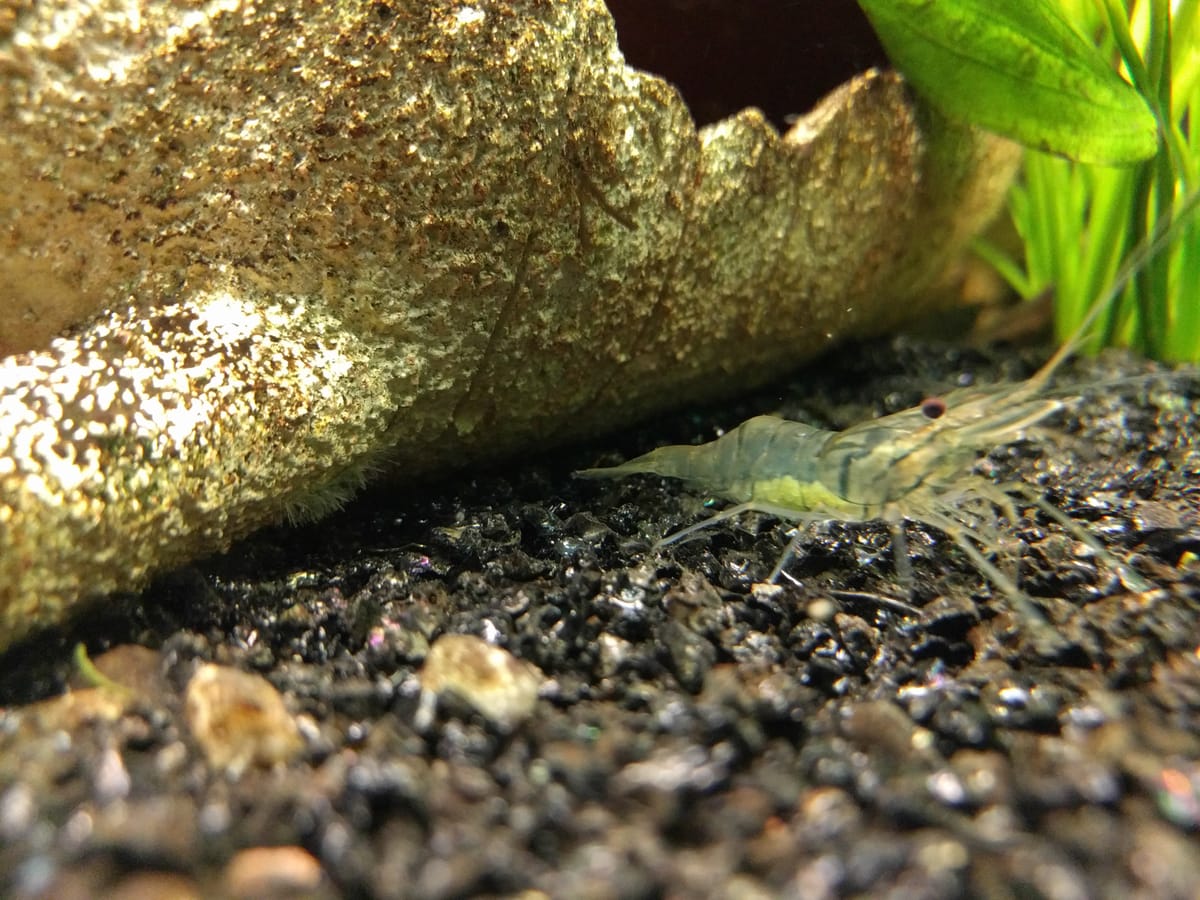
Step 2: Select Your Substrate
Your substrate choice matters more than you might think. There are two main options:
◆Active Substrates (Recommended for Beginners)
Active substrates like Fluval Stratum or ADA Amazonia buffer your water to the slightly acidic pH that shrimp prefer. They also provide nutrients for plants.
Pros:
- •Automatically maintains ideal pH (6.5-7.0)
- •Great for plant growth
- •Looks natural
Cons:
- •More expensive
- •Needs replacement every 1-2 years
- •Can cause initial ammonia spike
◆Inert Substrates
Pool filter sand or aquarium gravel don't affect water chemistry.
Pros:
- •Cheaper
- •Never needs replacement
- •No break-in period
Cons:
- •You'll need to manage pH yourself
- •Less ideal for rooted plants
Step 3: Set Up Your Filter
Sponge filters are the gold standard for shrimp tanks. Here's why:
- •Baby shrimp can't get sucked in
- •Provide surface area for beneficial bacteria
- •Shrimp love grazing on them
- •Affordable and reliable
Setup Tips:
- •Connect your sponge filter to an air pump
- •Position it in a back corner
- •Run it during the entire cycling process
If you prefer a hang-on-back (HOB) filter, cover the intake with a sponge pre-filter to protect baby shrimp.
Step 4: Cycle Your Tank (Critical!)
Never add shrimp to an uncycled tank. The cycling process establishes beneficial bacteria that convert toxic ammonia into less harmful nitrates.
◆How to Cycle (Fishless Method)
- •Set up tank with substrate, filter running, and heater at 78°F
- •Add ammonia source (pure ammonia or fish food)
- •Test water every 2-3 days
- •Wait for ammonia and nitrite to spike, then drop to zero
- •This typically takes 4-6 weeks
Signs Your Tank is Cycled:
- •Ammonia: 0 ppm
- •Nitrite: 0 ppm
- •Nitrate: 5-20 ppm
◆Speed Up Cycling
- •Add bottled bacteria (Seachem Stability)
- •Use filter media from an established tank
- •Add live plants (they help process ammonia)
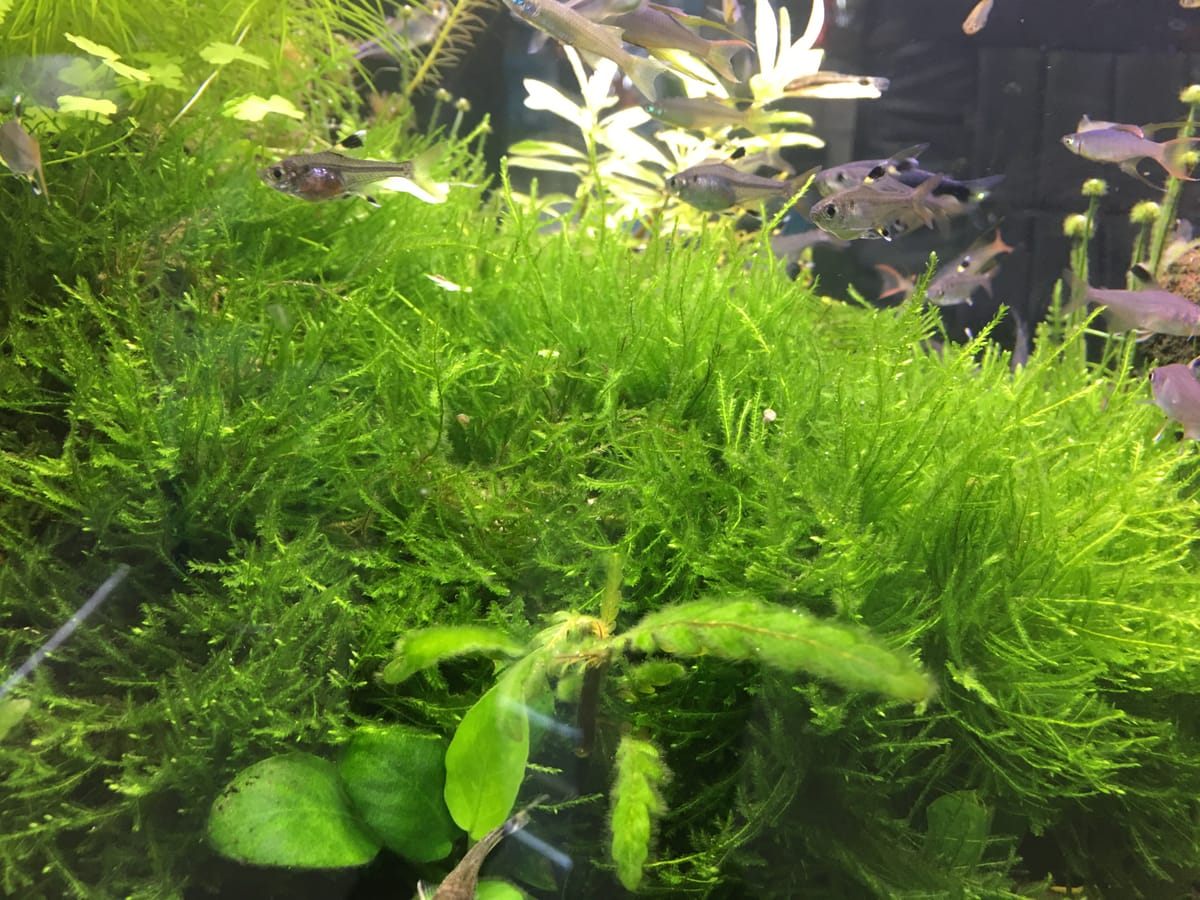
Step 5: Add Plants
Live plants aren't just decoration-they're essential for a healthy shrimp tank:
- •Absorb nitrates
- •Provide hiding spots
- •Grow biofilm for shrimp to graze
- •Oxygenate the water
◆Best Beginner Plants for Shrimp
| Plant | Difficulty | Notes |
|---|---|---|
| Java Moss | Very Easy | Shrimp favorite, no planting needed |
| Anubias | Easy | Attach to rocks/wood, don't bury |
| Java Fern | Easy | Attach to hardscape |
| Marimo Moss Balls | Very Easy | Shrimp love rolling them |
| Hornwort | Easy | Floating or planted |
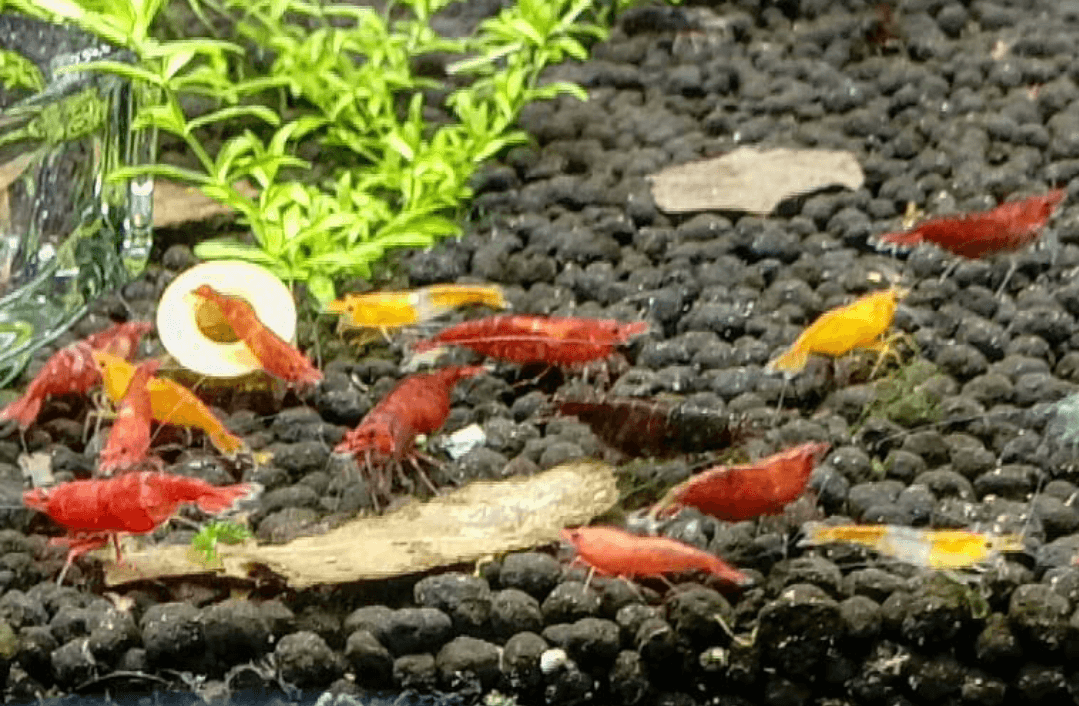
Step 6: Establish Ideal Water Parameters
Shrimp are sensitive to water quality. Here are the ideal parameters for most neocaridina shrimp (cherry shrimp, blue velvet, etc.):
| Parameter | Ideal Range |
|---|---|
| Temperature | 68-78°F (72-74°F optimal) |
| pH | 6.5-7.5 |
| GH (General Hardness) | 6-8 dGH |
| KH (Carbonate Hardness) | 2-5 dKH |
| TDS | 150-250 ppm |
| Ammonia | 0 ppm |
| Nitrite | 0 ppm |
| Nitrate | <20 ppm |
Pro Tip: Neocaridina shrimp are more forgiving than Caridina species. Start with cherry shrimp if you're new! Track these numbers with a liquid API Master Test Kit and a GH/KH kit, since test strips drift out of accuracy fast.
Step 7: Acclimate Your Shrimp
When you finally get your shrimp, proper acclimation is crucial:
◆Drip Acclimation Method
- •Float the bag for 15 minutes to equalize temperature
- •Open bag and secure it to tank edge
- •Set up airline tubing with a knot to control flow
- •Drip tank water into bag (2-3 drops per second)
- •When water volume doubles (1-2 hours), net shrimp into tank
- •Discard bag water (don't add it to your tank)
Common Beginner Mistakes to Avoid
- •Adding shrimp too soon - Always cycle first!
- •Overfeeding - Feed small amounts every 2-3 days
- •Large water changes - Stick to 10-20% weekly
- •Using tap water without dechlorinator - Chlorine kills shrimp
- •Keeping with aggressive fish - Most fish eat baby shrimp
- •Ignoring water parameters - Test weekly
What's Next?
Once your tank is cycled and your shrimp are settled:
Have questions? This guide is regularly updated based on reader feedback. Check back for the latest information!
Frequently Asked Questions
◆How long should I cycle a tank before adding shrimp?
Cycle your tank for at least 4-6 weeks before adding shrimp. Use an ammonia source and test regularly until you see zero ammonia, zero nitrites, and some nitrates. Shrimp are more sensitive to ammonia than most fish, so patience pays off.
◆What equipment do I need for a shrimp tank?
You need a tank (10 gallons recommended), sponge filter with air pump, heater (if your room is cold), LED light, substrate, water test kit, dechlorinator, and thermometer. Add plants and hardscape before cycling.
◆How many shrimp can I put in a 10-gallon tank?
A 10-gallon tank comfortably supports 50-100 adult shrimp with proper filtration. Start with 10-20 and let the colony grow naturally. Shrimp have a very low bioload, so overstocking is less of a concern than with fish.
◆Do shrimp tanks need a heater?
Most shrimp do fine at room temperature (68-78°F). If your home drops below 65°F in winter, use a small adjustable heater. Stability matters more than hitting a specific number. Avoid placing the tank near drafty windows.
Found this helpful?
Check out our other shrimp care guides