How to Do Water Changes in a Shrimp Tank (Without Killing Your Shrimp)
Last updated: February 2026 | 12 min read
Water changes are the single most important maintenance task for a healthy shrimp tank. But here's the thing most guides won't tell you: shrimp are way more sensitive to water changes than fish. Do it wrong, and you'll trigger molting problems, stress, or worse.
This guide covers exactly how to do water changes safely, how often, how much, and what mistakes to avoid. Whether you're keeping hardy Neocaridina or sensitive Caridina, you'll find the right approach here.
Why Water Changes Matter for Shrimp
Shrimp produce very little waste compared to fish. A colony of 20 cherry shrimp creates a fraction of the bioload that even a single betta would. So why bother with water changes at all?
Nitrate removal. Even in a well-cycled tank, nitrates slowly build up over time. Shrimp tolerate nitrates up to about 20 ppm, but anything above that starts causing stress. Water changes are the only reliable way to bring nitrates back down.
Mineral replenishment. Your shrimp are constantly pulling calcium, magnesium, and other minerals from the water to build their exoskeletons. Plants use minerals too. Over time, the mineral content drops unless you replace it.
Removing invisible toxins. Dissolved organic compounds, hormones, and other substances build up gradually. Your test kit won't catch them, but your shrimp will feel them. Fresh water dilutes these invisible pollutants.
TDS management. Total Dissolved Solids (TDS) creep upward between water changes as water evaporates and minerals concentrate. Regular changes keep TDS stable and in range.
As one experienced keeper on r/shrimptank put it: "Long story short, only when the water needs it." That's the right mentality - water changes should be driven by your tank's actual needs, not an arbitrary schedule.
How Often Should You Change Water?
This is the question that generates the most debate in shrimp keeping communities. Ask ten shrimp keepers and you'll get ten different answers. Here's what actually works:
◆The General Rule: Weekly, 10-20%
For most shrimp tanks, a 10-20% water change once per week hits the sweet spot. It's enough to keep nitrates low and minerals fresh without causing parameter swings that stress your shrimp.
◆Factors That Affect Your Schedule
Tank size matters. A 5-gallon tank with 30 shrimp needs more frequent changes than a 20-gallon with the same colony. Smaller volumes concentrate waste faster.
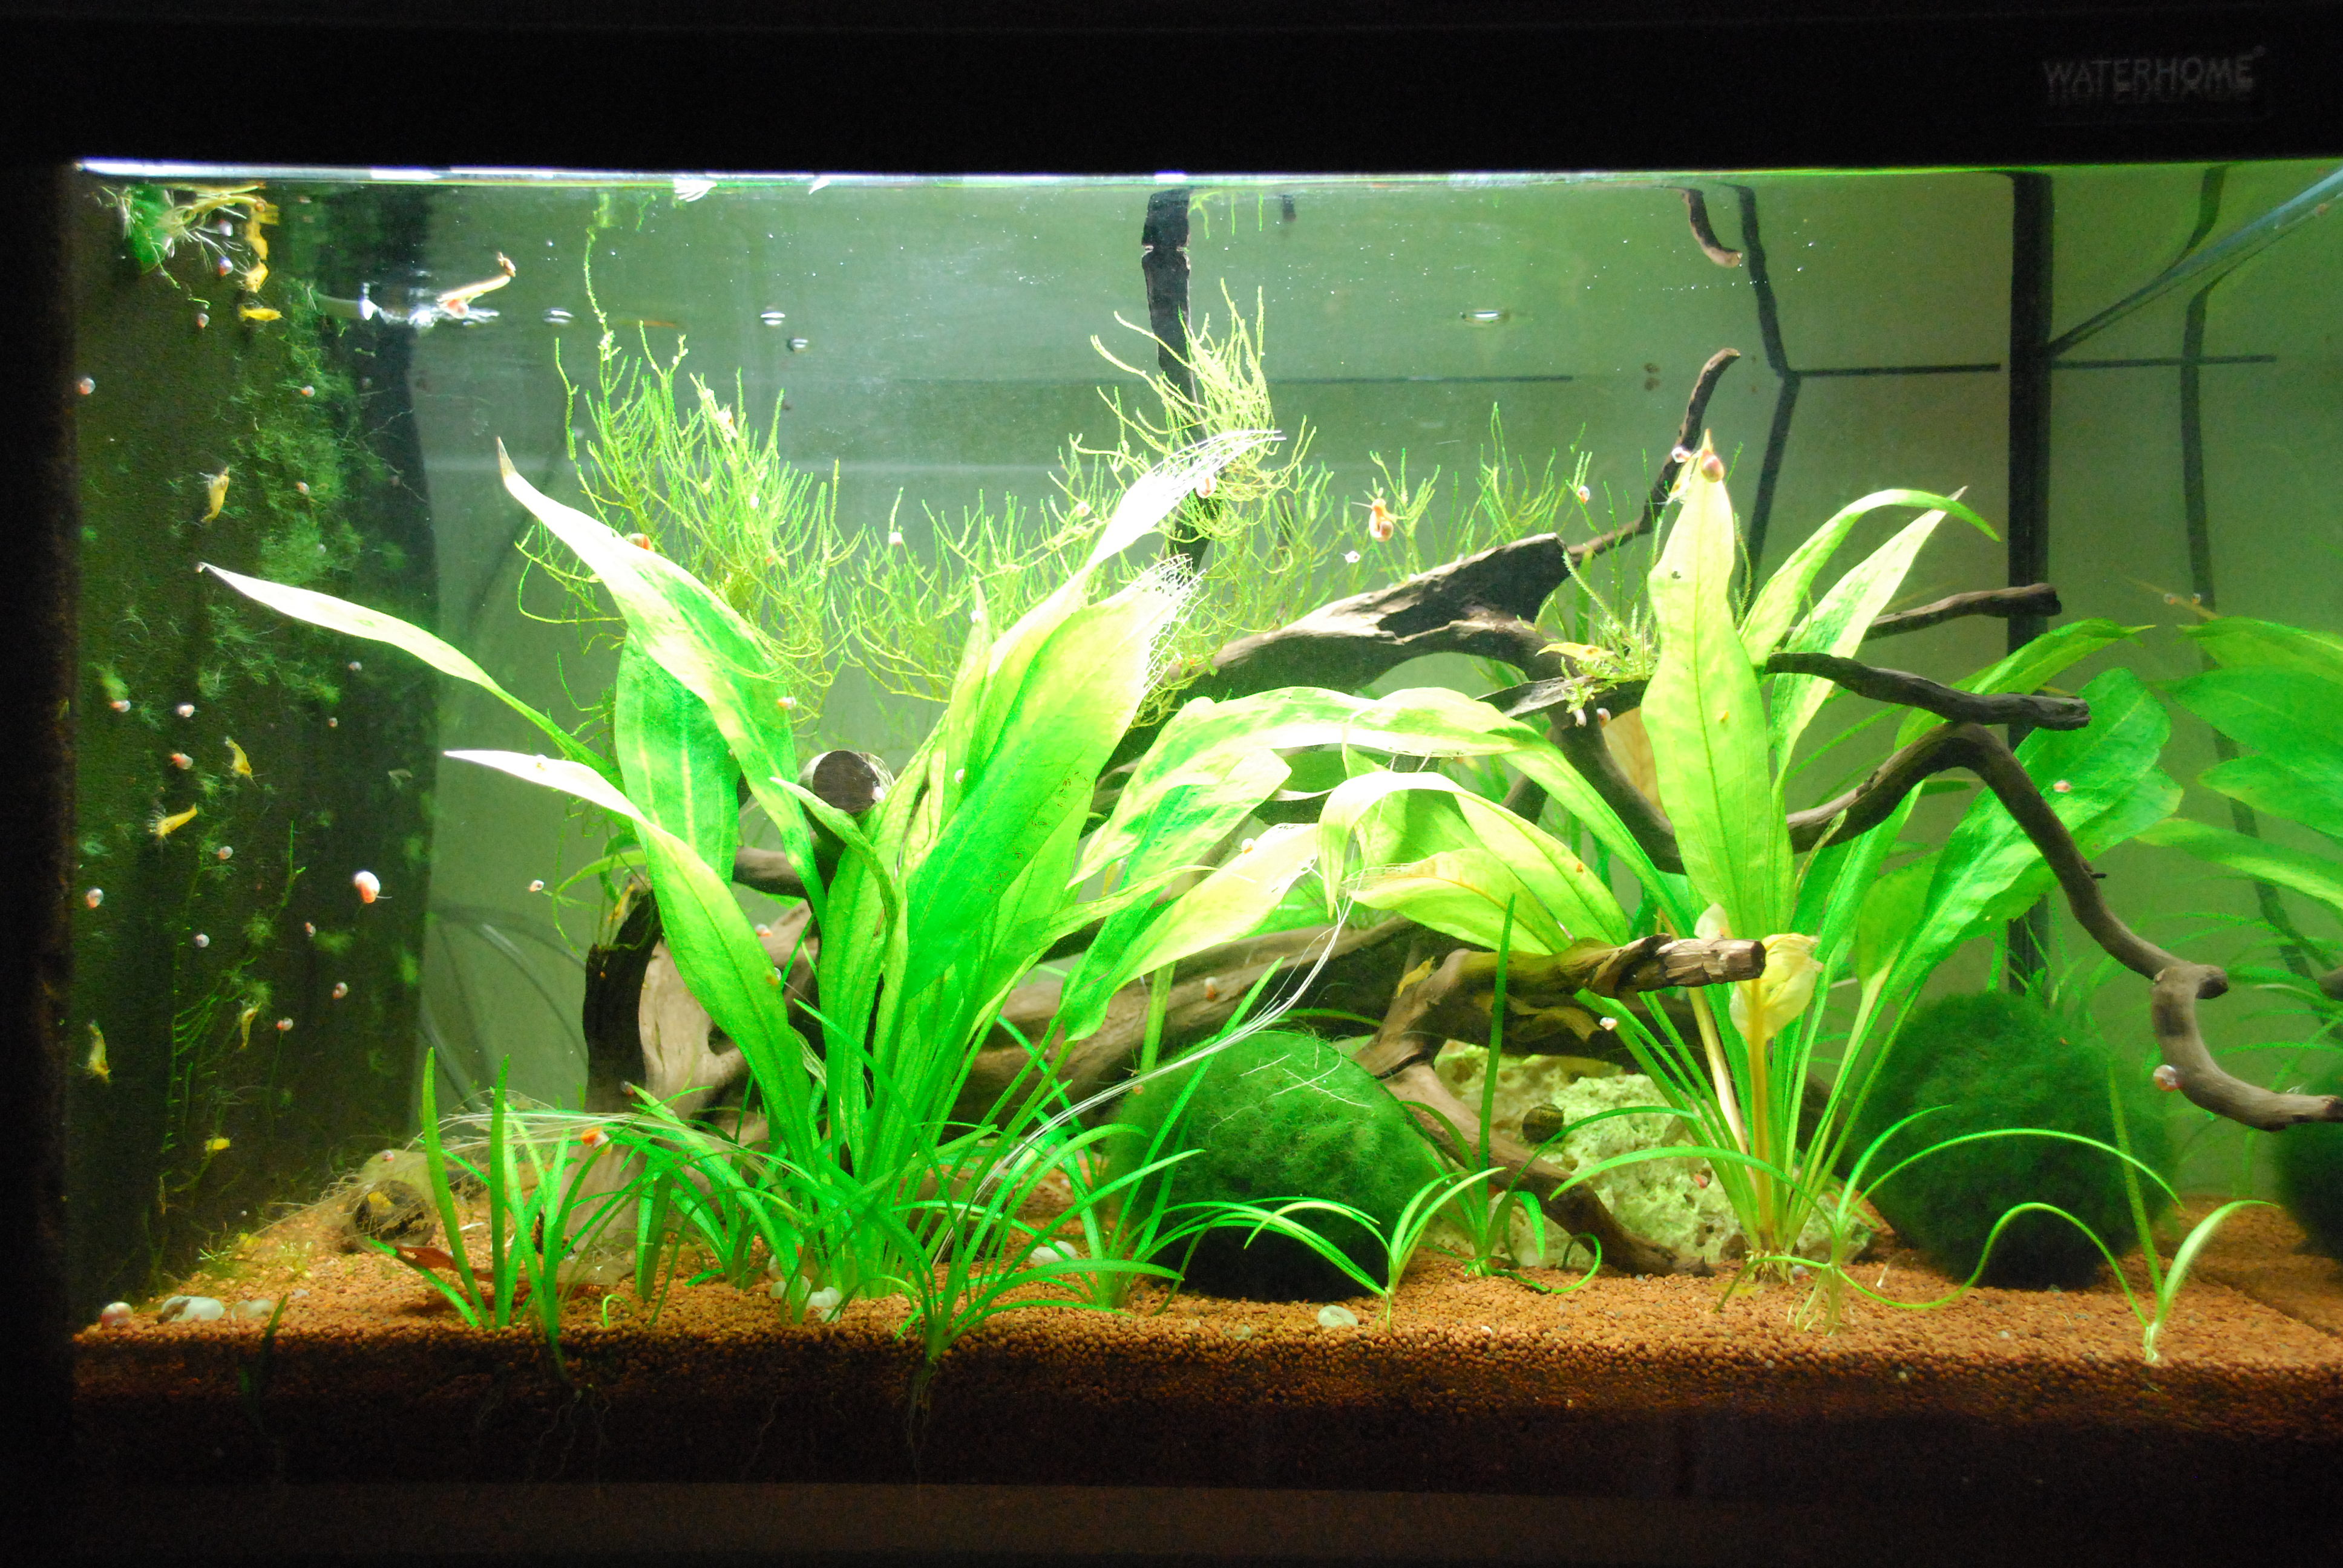
Plants reduce the need. A heavily planted tank absorbs nitrates naturally. Some planted shrimp keepers get away with changes every 2-3 weeks because their plants handle most of the nitrogen.
Feeding habits. Overfeeding is the number one reason water quality drops in shrimp tanks. If you feed daily, you'll need more frequent changes. If you feed every other day and your shrimp graze on biofilm, you can stretch the interval.
Substrate type. Active substrates like ADA Amazonia or Fluval Stratum buffer pH and release compounds into the water. New active substrates may require more frequent changes in the first few weeks as they leach ammonia.
Colony size. A tank with 200 shrimp produces noticeably more waste than one with 20. As your colony grows, your maintenance schedule needs to adapt.
◆Neocaridina vs. Caridina: Different Approaches
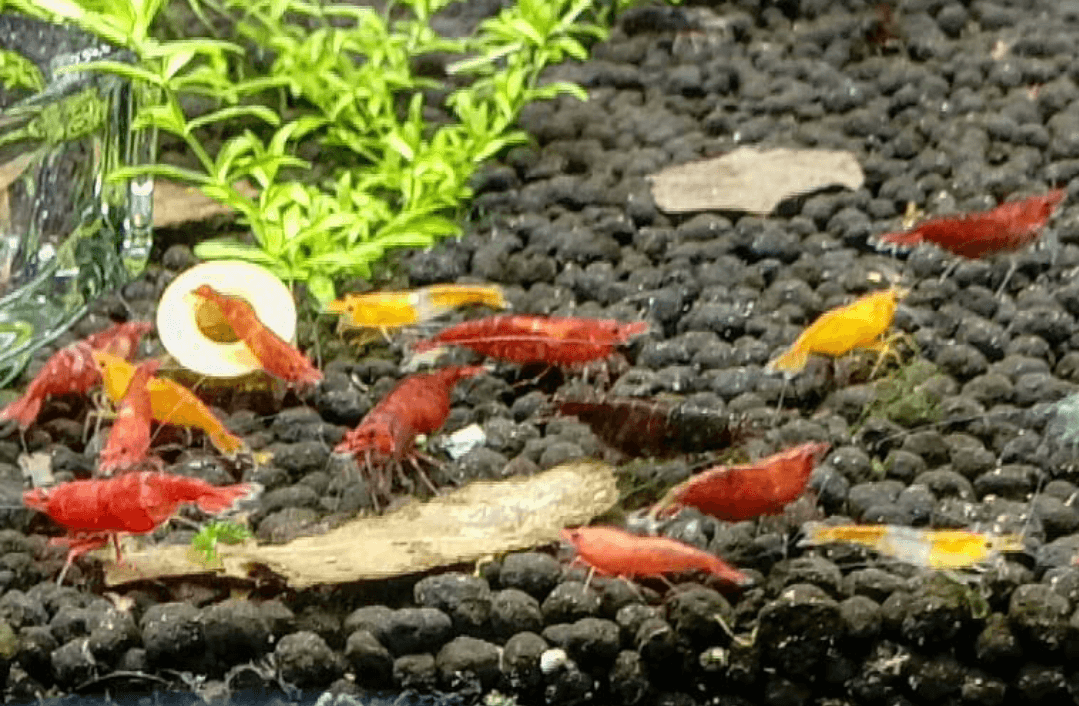
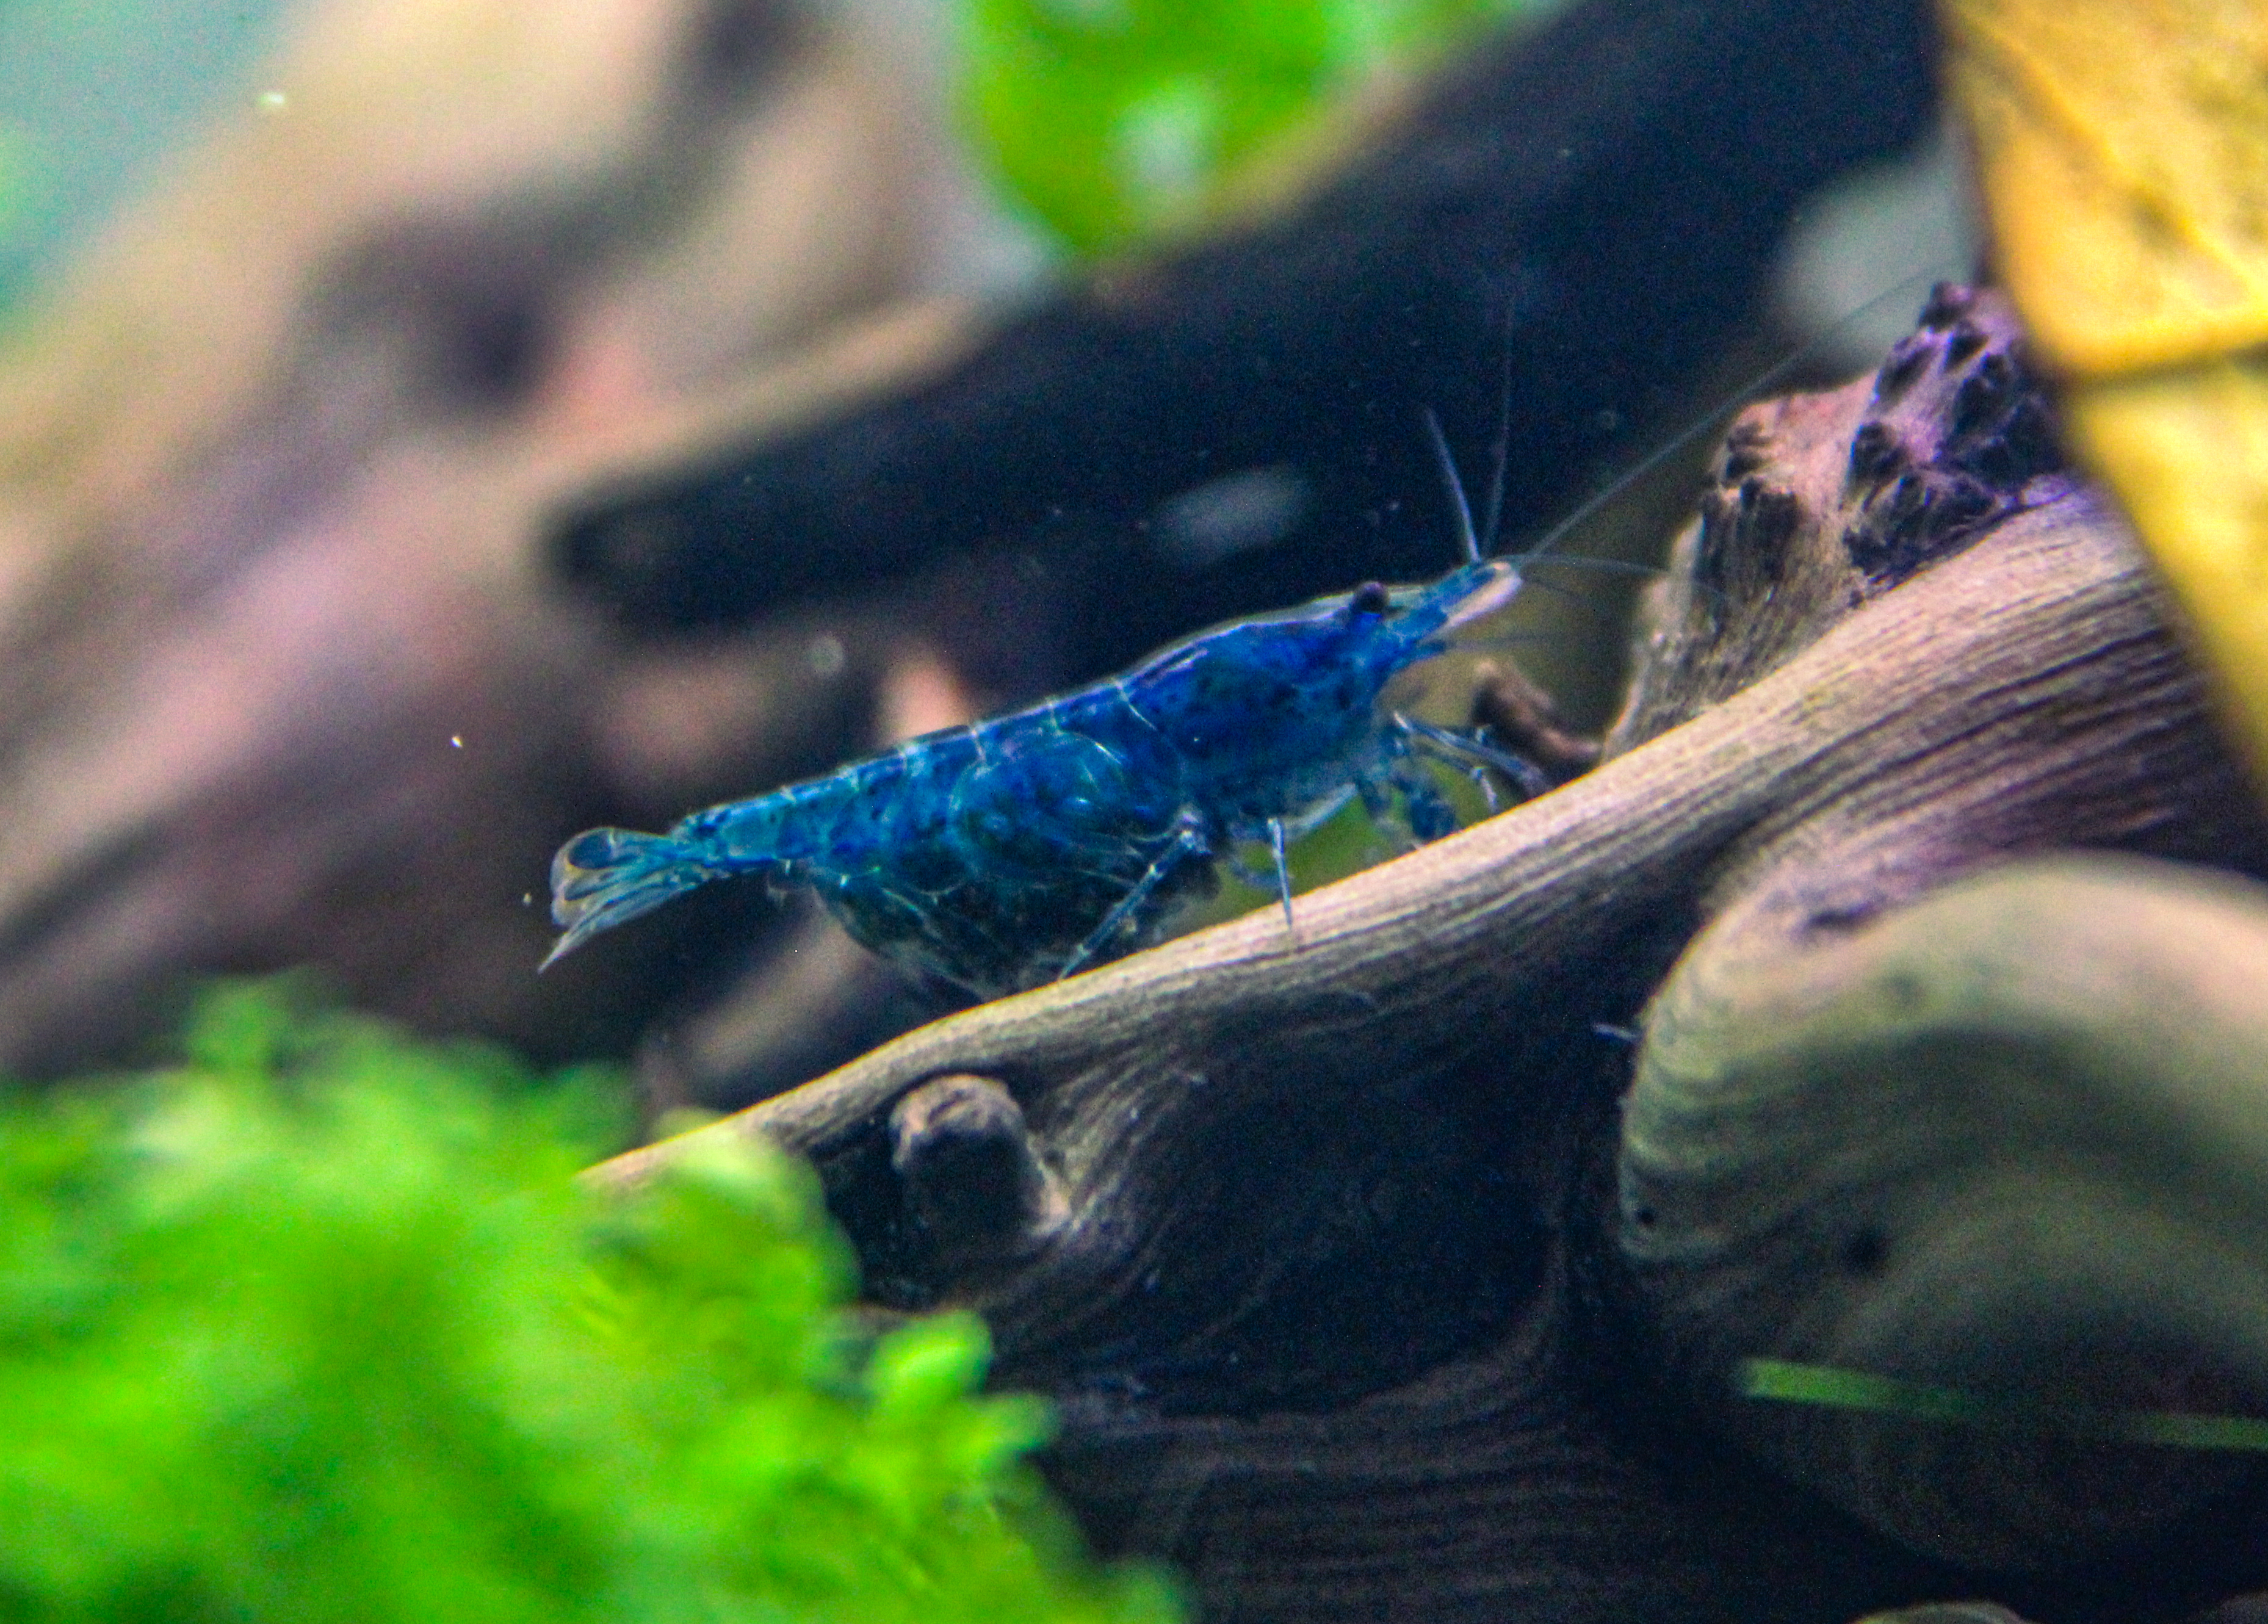
Neocaridina (cherry shrimp, blue velvet, yellow, etc.): These hardy shrimp tolerate bigger changes. A 20-25% weekly change works well. They handle minor parameter swings without much drama.
Caridina (crystal red, crystal black, Taiwan bee): These sensitive species need a gentler touch. Stick to 10-15% weekly, and match the replacement water parameters as closely as possible. Even small TDS or pH swings can trigger failed molts.
One keeper on r/shrimptank shared their approach: they test weekly and only change water when nitrates climb above 10 ppm. That testing-first approach works well once you understand your tank's rhythm.
How to Do a Water Change: Step by Step
Here's the safe method that minimizes stress on your shrimp.
◆What You'll Need
- •Airline tubing (for slow siphoning) or a small gravel vacuum
- •A bucket dedicated to your aquarium (never use soap-cleaned buckets)
- •Water conditioner (if using tap water) - Seachem Prime is the go-to choice
- •A TDS meter - HM Digital TDS-EZ is affordable and reliable
- •Remineralizer (if using RO water) - SaltyShrimp GH/KH+ for Neocaridina
- •Liquid test kit - API Freshwater Master Test Kit beats strips every time
◆Step 1: Prepare Your Replacement Water
This step happens before you touch the tank. Replacement water should be ready and temperature-matched.
If using tap water:
- •Fill your bucket with tap water
- •Add water conditioner (Seachem Prime at 2 drops per gallon)
- •Let it sit for 15-30 minutes
- •Check the temperature - it should be within 1-2 degrees of your tank water
- •Test TDS and adjust if needed
If using RO/DI water:
- •Fill your bucket with RO water
- •Add remineralizer to match your target TDS (150-250 for Neocaridina, 100-150 for Caridina)
- •Stir well and let it dissolve for 10 minutes
- •Check temperature and TDS before adding
The golden rule: New water should match old water as closely as possible. Same temperature, similar TDS, similar GH. The smaller the swing, the less stress on your shrimp.
◆Step 2: Remove Old Water Slowly
Here's where most beginners make their first mistake: they plunge a gravel vacuum in and suck out water too fast. Shrimp hate rapid water level drops.
The airline tubing method (recommended for shrimp):
- •Run a length of airline tubing from the tank to a bucket on the floor
- •Start a siphon by sucking on the end (or use a small squeeze bulb)
- •The narrow tubing creates a gentle, slow flow
- •Direct the tube near the substrate to pick up detritus without disturbing plants
- •Watch for baby shrimp - they're tiny and can get sucked up easily
Baby shrimp protection tip: Put a piece of fine sponge or a pre-filter sponge over the intake end of your siphon. This prevents shrimplets from taking an unwanted ride into the bucket.
◆Step 3: Check the Bucket for Stowaways
Before dumping your waste water, always look through it for baby shrimp. Shrimplets are nearly invisible when they're young, and they will end up in your siphon bucket. Hold the bucket up to light and look for tiny specks darting around. Use a turkey baster or small net to return any stowaways.
◆Step 4: Add New Water Slowly
This is the most critical step. Never dump a bucket of fresh water straight into your shrimp tank.
The drip method (safest):
- •Place the bucket of prepared water above the tank
- •Run airline tubing from the bucket to the tank
- •Use a valve or tie a loose knot in the tubing to control flow
- •Let the water drip in over 30-60 minutes
- •This gives your shrimp time to adjust to any minor parameter differences
The pour method (acceptable for Neocaridina):
- •Pour the new water slowly onto a rock, plant, or the glass wall
- •Never pour directly onto the substrate or into the colony
- •Add it in thirds: pour a third, wait 5 minutes, pour another third, wait, then finish
- •This helps buffer any parameter changes
◆Step 5: Test After
Once the new water is in, wait an hour, then test your parameters. You're looking for:
- •Temperature within 1 degree of your target
- •TDS within 10-20 points of your baseline
- •pH stable (no sudden jumps)
- •GH and KH in range
Keep a log of your readings over time. You'll start to see patterns that help you predict when your tank needs a change.
Common Water Change Mistakes
◆Mistake 1: Changing Too Much at Once
The biggest killer. Replacing 50% of the water in one go causes massive parameter swings, even if your new water is perfectly prepared. Shrimp that seemed fine will start acting erratic, and you may see deaths 24-48 hours later.
As one keeper on r/shrimptank explained: "It really depends on how much you change the water parameters by replacing some water. Even so, Neocaridina are hardy shrimp." The key insight there: it's not the volume that matters, it's how much the parameters shift.
Fix: Stick to 10-20% changes. If your tank is in bad shape and needs a bigger change, do multiple small changes over several days instead of one large one.
◆Mistake 2: Temperature Mismatch
Adding water that's even 3-4 degrees different can shock shrimp. In breeding colonies, a sudden temperature drop actually triggers molting, which is sometimes done intentionally by breeders but can cause fatal "white ring of death" in unprepared shrimp.
Fix: Use a thermometer on both your tank and your bucket. Match within 1 degree.
◆Mistake 3: Forgetting to Dechlorinate
Tap water contains chlorine or chloramine, both of which are lethal to shrimp in very small concentrations. Shrimp are far more sensitive to these chemicals than most fish.
Fix: Always, always treat tap water with a conditioner like Seachem Prime. Prime also detoxifies ammonia and nitrite for 24 hours, giving your biofilter time to process any spikes.
◆Mistake 4: Vacuuming the Substrate Too Aggressively
In a shrimp tank, your substrate is full of biofilm and beneficial bacteria that your shrimp need. Deep gravel vacuuming destroys this ecosystem.
Fix: Just hover the siphon about half an inch above the substrate to pick up visible debris. Let the mulm and biofilm stay. Your shrimp will eat it.
◆Mistake 5: Skipping Water Changes in "Established" Tanks
Some keepers think that once a tank is mature with lots of plants, water changes become optional. While heavily planted tanks can go longer between changes, they still need them. Minerals deplete, invisible toxins build up, and TDS creeps upward.
Fix: Even in a walstad-style or heavily planted tank, do at least a 10% change every 2 weeks minimum.
Tap Water vs. RO Water: Which Should You Use?
◆Tap Water
Pros: Free, convenient, usually contains some minerals already.
Cons: Contains chlorine/chloramine, may have high TDS, pH, or other unwanted parameters. Varies by location and season.
Best for: Neocaridina keepers whose tap water falls within acceptable ranges (GH 6-8, KH 2-5, pH 6.5-7.5, TDS under 300).
Test your tap water first. If it's within range for your species, there's no reason to spend money on an RO system. Just dechlorinate and go.
◆RO/DI Water
Pros: Starts at zero TDS, giving you complete control over mineral content. Consistent, no surprises.
Cons: Requires an RO unit ($50-150), wastes some water, must remineralize before use.
Best for: Caridina keepers, anyone with hard or unpredictable tap water, and keepers who want precise control.
If you go the RO route, a basic 4-stage RO system pays for itself within a year compared to buying distilled water from the store.
The Role of TDS in Water Changes
TDS (Total Dissolved Solids) is your best friend for monitoring water quality between test kit readings. A simple TDS meter costs under $15 and gives you an instant snapshot.
◆Target TDS Ranges
| Shrimp Type | Target TDS |
|---|---|
| Neocaridina (cherry, blue velvet, yellow) | 150-250 ppm |
| Caridina (crystal red, crystal black) | 100-150 ppm |
| Taiwan Bee (king kong, pinto) | 90-120 ppm |
| Sulawesi | 150-250 ppm |
◆How to Use TDS for Water Changes
- •Measure your tank TDS weekly and write it down
- •If TDS is climbing (say from 180 to 220 over two weeks) - you need a water change
- •If TDS is stable - your current schedule is working
- •After a water change, TDS should drop slightly but not dramatically
- •Match replacement water TDS to within 10-20 ppm of your tank
TDS doesn't tell you what's dissolved in the water, just how much. So combine it with your regular GH, KH, pH, and nitrate testing for the full picture.
When to Skip a Water Change
Sometimes the best water change is no water change. Here's when to hold off:
- •Berried females are close to releasing babies. The parameter shift from a water change can cause premature release of undeveloped eggs. Wait until the babies hatch.
- •You just medicated the tank. Follow the medication's instructions for water changes. Changing water too soon dilutes the treatment.
- •Parameters are already perfect. If nitrates are under 5 ppm, TDS is stable, and your shrimp are active and breeding - don't fix what isn't broken. Test again in a week.
- •You just set up the tank. During cycling, water changes can slow bacterial colonization. Only change water during cycling if ammonia exceeds 4 ppm.
Emergency Water Changes
Sometimes you need to act fast. Signs that demand an immediate water change:
- •Shrimp are swimming erratically (the "shrimp dance of death")
- •Multiple deaths in 24 hours with no obvious cause
- •Ammonia or nitrite spikes above 0.25 ppm
- •Something fell into the tank (food, soap residue, etc.)
- •Overdosed fertilizer or medication
For emergencies, do a 25-30% change immediately with prepared water. Yes, this is more than the usual 10-20%, but toxin removal takes priority over parameter stability. Follow up with another 15-20% change the next day.
Recommended Water Change Supplies
Here's everything you need to do water changes right:
Must-haves:
- •Seachem Prime Water Conditioner - Dechlorinates and detoxifies ammonia ($8-12)
- •API Freshwater Master Test Kit - Liquid tests for pH, ammonia, nitrite, nitrate ($22-28)
- •HM Digital TDS Meter - Instant TDS readings ($12-15)
- •Airline tubing (available at any pet store for a few dollars)
Nice-to-haves:
- •SaltyShrimp GH/KH+ - Remineralizer for Neocaridina ($14-18)
- •Airline Tubing Control Valve - Controls drip rate precisely ($5-7)
- •Digital Thermometer - Fast, accurate temp readings ($8-10)
Quick Reference: Water Change Cheat Sheet
Weekly routine:
- •Test nitrates and TDS
- •Prepare replacement water (match temp, TDS, treat with conditioner)
- •Siphon 10-20% from the tank using airline tubing
- •Check bucket for baby shrimp
- •Drip or slowly pour new water back in
- •Test parameters one hour later
Monthly deep clean (optional):
- •Lightly stir the top layer of substrate during your regular water change
- •Clean filter sponge in old tank water (never tap water)
- •Scrape any algae from the glass
- •Trim dead plant leaves
Final Thoughts
Water changes don't need to be complicated. The key principles are simple: change small amounts, match your parameters, go slow, and test regularly. Once you dial in a routine that works for your tank, it becomes second nature.
Your shrimp will tell you if something's wrong. Active, grazing shrimp with good coloration means your maintenance is working. Lethargic, pale, or hiding shrimp means something needs to change.
Start with 15% weekly and adjust from there based on what your tests show. Every tank is different, and finding your rhythm is part of the fun.
Looking for more shrimp care guides? Check out our Complete Shrimp Tank Setup Guide, Water Parameters Guide, and Why Are My Shrimp Dying? for related topics.
Frequently Asked Questions
◆How often should I change water in a shrimp tank?
Do 10-20% water changes weekly in a shrimp tank. Smaller, more frequent changes are better than large, infrequent ones. Shrimp are sensitive to sudden parameter shifts, so consistency is key. Mature, lightly stocked tanks may need less.
◆Can water changes kill shrimp?
Yes, large water changes (over 25%) can shock and kill shrimp by suddenly changing temperature, pH, GH, or TDS. Always match new water temperature and parameters to the tank water. Drip new water in slowly when possible.
◆Should I use RO water for shrimp?
RO water is recommended for Caridina shrimp since it lets you control exact mineral content. For Neocaridina, dechlorinated tap water usually works fine if your local water parameters fall within their preferred range.
◆How do I do a water change without losing baby shrimp?
Use a fine mesh over your siphon to prevent sucking up baby shrimp. Go slowly and watch carefully while vacuuming. Some keepers strain the removed water through a fine net to catch any shrimplets before discarding it.
Found this helpful?
Check out our other shrimp care guides